Syncing your Adventure Log to a Google Calendar
Here is a quick guide to help you sync your training log to a google calendar.

Setup a google new Google Calendar.#
Setting up a new calendar is, in my opinion, the better way to do this! I called my ‘Training’, but this name doesn’t matter so choose what you like!
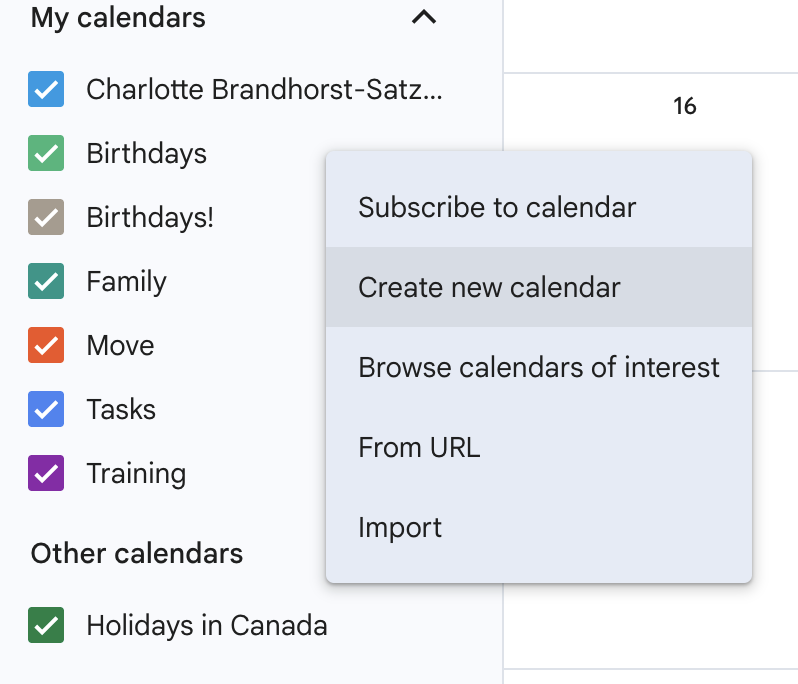
Once you have created the calendar, you should end up on ‘Calendar Settings’ page for that calendar. Scroll down the page until you see the ‘Integrate calendar’ heading.
The first entry in this section should be the ‘Calendar ID’. You will need this for the next step, so keep it handy!

If you navigated off of this page by mistake, you can get back to it by clicking the ‘…’ that appears when you hover over the calendar name in the side bar of your Google Calendar. Click settings, and you should be back to where you need to be.
Add a new sheet to your Training Log.#
For this step, you will need to head to your training log. In the bottom left, you should see a + button. Click that to create a new sheet and rename the sheet ‘Calendar’, with a capital C.

Add required information to the Calendar sheet.#
The purpose of this extra sheet in your training log is so you can provide some information that allows your training log to sync with your calendar. It’s very important you put the correct information into each cell for the program to work!
Cell A1: Add the Google Calendar ID from step 1. It doesn’t matter if the link looks like it is over many of the cells, just make sure you entered it into A1.
Cell A2: Enter your timezone. I am “GMT-8”, but you may be GMT+1, or GMT-6, etc.
Cell A3: Enter the name of the sheet where all your trainings are entered into. Mine is called “Training Log”, which I suspect many of you have the same. If you don’t enter a name here, the program will attempt to look for the sheet “Training Log”.
Cell A4: Enter the number of days you want the training log to sync for. In my config, I have 7 days. The program will default to 7 days if you don’t provide a number here. I highly recommend setting a low number - 3, 5 or 7 days is the best. And don’t worry about if your training log gets changed - the program will be configured to update your calendar daily.

This is all the information the program will need. Now, we just need to add the program!
Create a Google Apps Script#
This might sound complicated, but I promise its easy!
In Google Sheets, click ‘Extensions’ at the top, then ‘Apps Scripts’
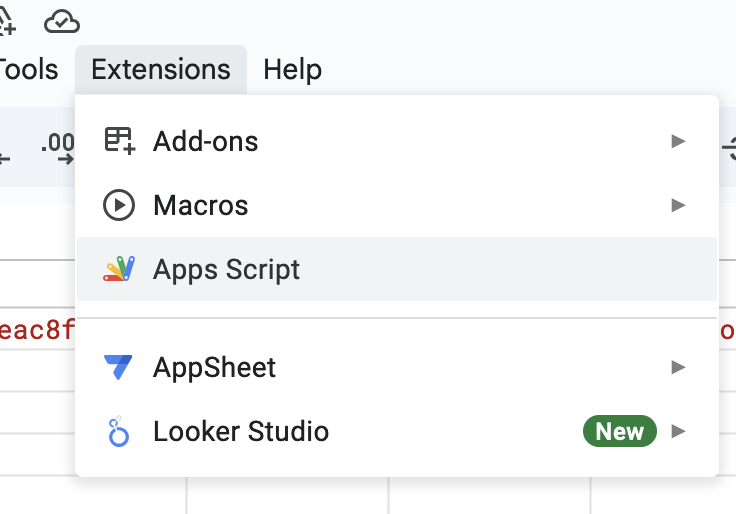
This will open a new browser tab that looks like this:

Firstly, click the ‘Untitled Project’ and give it a name. I named mine ‘Sync to Charlottes Calendar’, but the name doesn’t matter.
Secondly, you will want to copy and paste all of the information below into the box that currently says function myFunction(){}. The information below should be the only thing in that box after this.
function updateCalendar() {
  // Retrieves the current spreadsheet.
  var spreadsheet = SpreadsheetApp.getActiveSpreadsheet();

  // Gets the information about your google calendar. This information should be stored in cell A1 of your "Calendar" sheet.
  var calendarID = spreadsheet.getRange("Calendar!A1").getValue();
  var eventCal = CalendarApp.getCalendarById(calendarID);

  // Retrieves your specified timezone. This information should be stored in cell A2 of your "Calender" sheet.
  var timezone = spreadsheet.getRange("Calendar!A2").getValue();
  // Gets the current date, so it can check the current day and onwards training schedule.
  var date = Utilities.formatDate(new Date(), timezone, "dd/MM/yyyy");
  var descriptionSignOff = " | created by apps script on " + date;

  // The name of your training log sheet, typically "Training Log", but update if yours differs.
  var trainingLogSheetName = spreadsheet.getRange("Calendar!A3").getValue();
  if (trainingLogSheetName == "") {
    // If a name isn't supplied in 'Calendar!A3' default to the normal name.
    trainingLogSheetName = "Training Log";
  }
  // Gets all the spreadsheet information, so it can find the relevant rows.
  var trainingSheet = spreadsheet.getSheetByName(trainingLogSheetName);

  // daysToSync is the number of days you want to sync to your calendar. If not supplied, defaults to 7.
  var daysToSync = spreadsheet.getRange("Calendar!A4").getValue();
  if (daysToSync == "") {
    daysToSync = 7;
  }

  // start keeps track of the row the current date is on so we can make events from then onwards!
  var start = 0;
  var trainingData = trainingSheet.getDataRange().getValues();
  for (var i = 2; i < trainingData.length; i++) {
    // Finds the row for the current date.
    if (
      Utilities.formatDate(
        new Date(trainingData[i][1]),
        timezone,
        "dd/MM/yyyy"
      ).valueOf() == date.valueOf()
    ) {
      start = i + 2;
      break;
    }
  }

  // cellStart formulates the string needed to grab the next 14 days of workouts.
  var cellStart =
    "B" + start.toString() + ":E" + (start + daysToSync).toString();
  var workouts = trainingSheet.getRange(cellStart).getValues();
  workouts.forEach(function (workout) {
    var events = eventCal.getEventsForDay(workout[0]);
    events.forEach(function (event) {
      // If we already have an event on this day created by the script, delete it otherwise we will get duplicates.
      // We only delete events that include a specific description, that we add when we create the events.
      var desc = event.getDescription();
      if (desc.toString().includes("created by apps script")) {
        event.deleteEvent();
      }
    });

    if (workout[3] != "") {
      // Create a calendar event for strength workouts
      eventCal
        .createAllDayEvent(workout[3], workout[0])
        .setDescription(descriptionSignOff);
    }

    if (workout[1] != "") {
      //   Create a calendar event for runs/cross training
      var description = workout[2] + descriptionSignOff;
      eventCal
        .createAllDayEvent(workout[1], workout[0])
        .setDescription(description);
    }
  });
}
Now it should look like (some of it is cut off, because I can’t screenshot the whole thing, but hopefully you understand!):
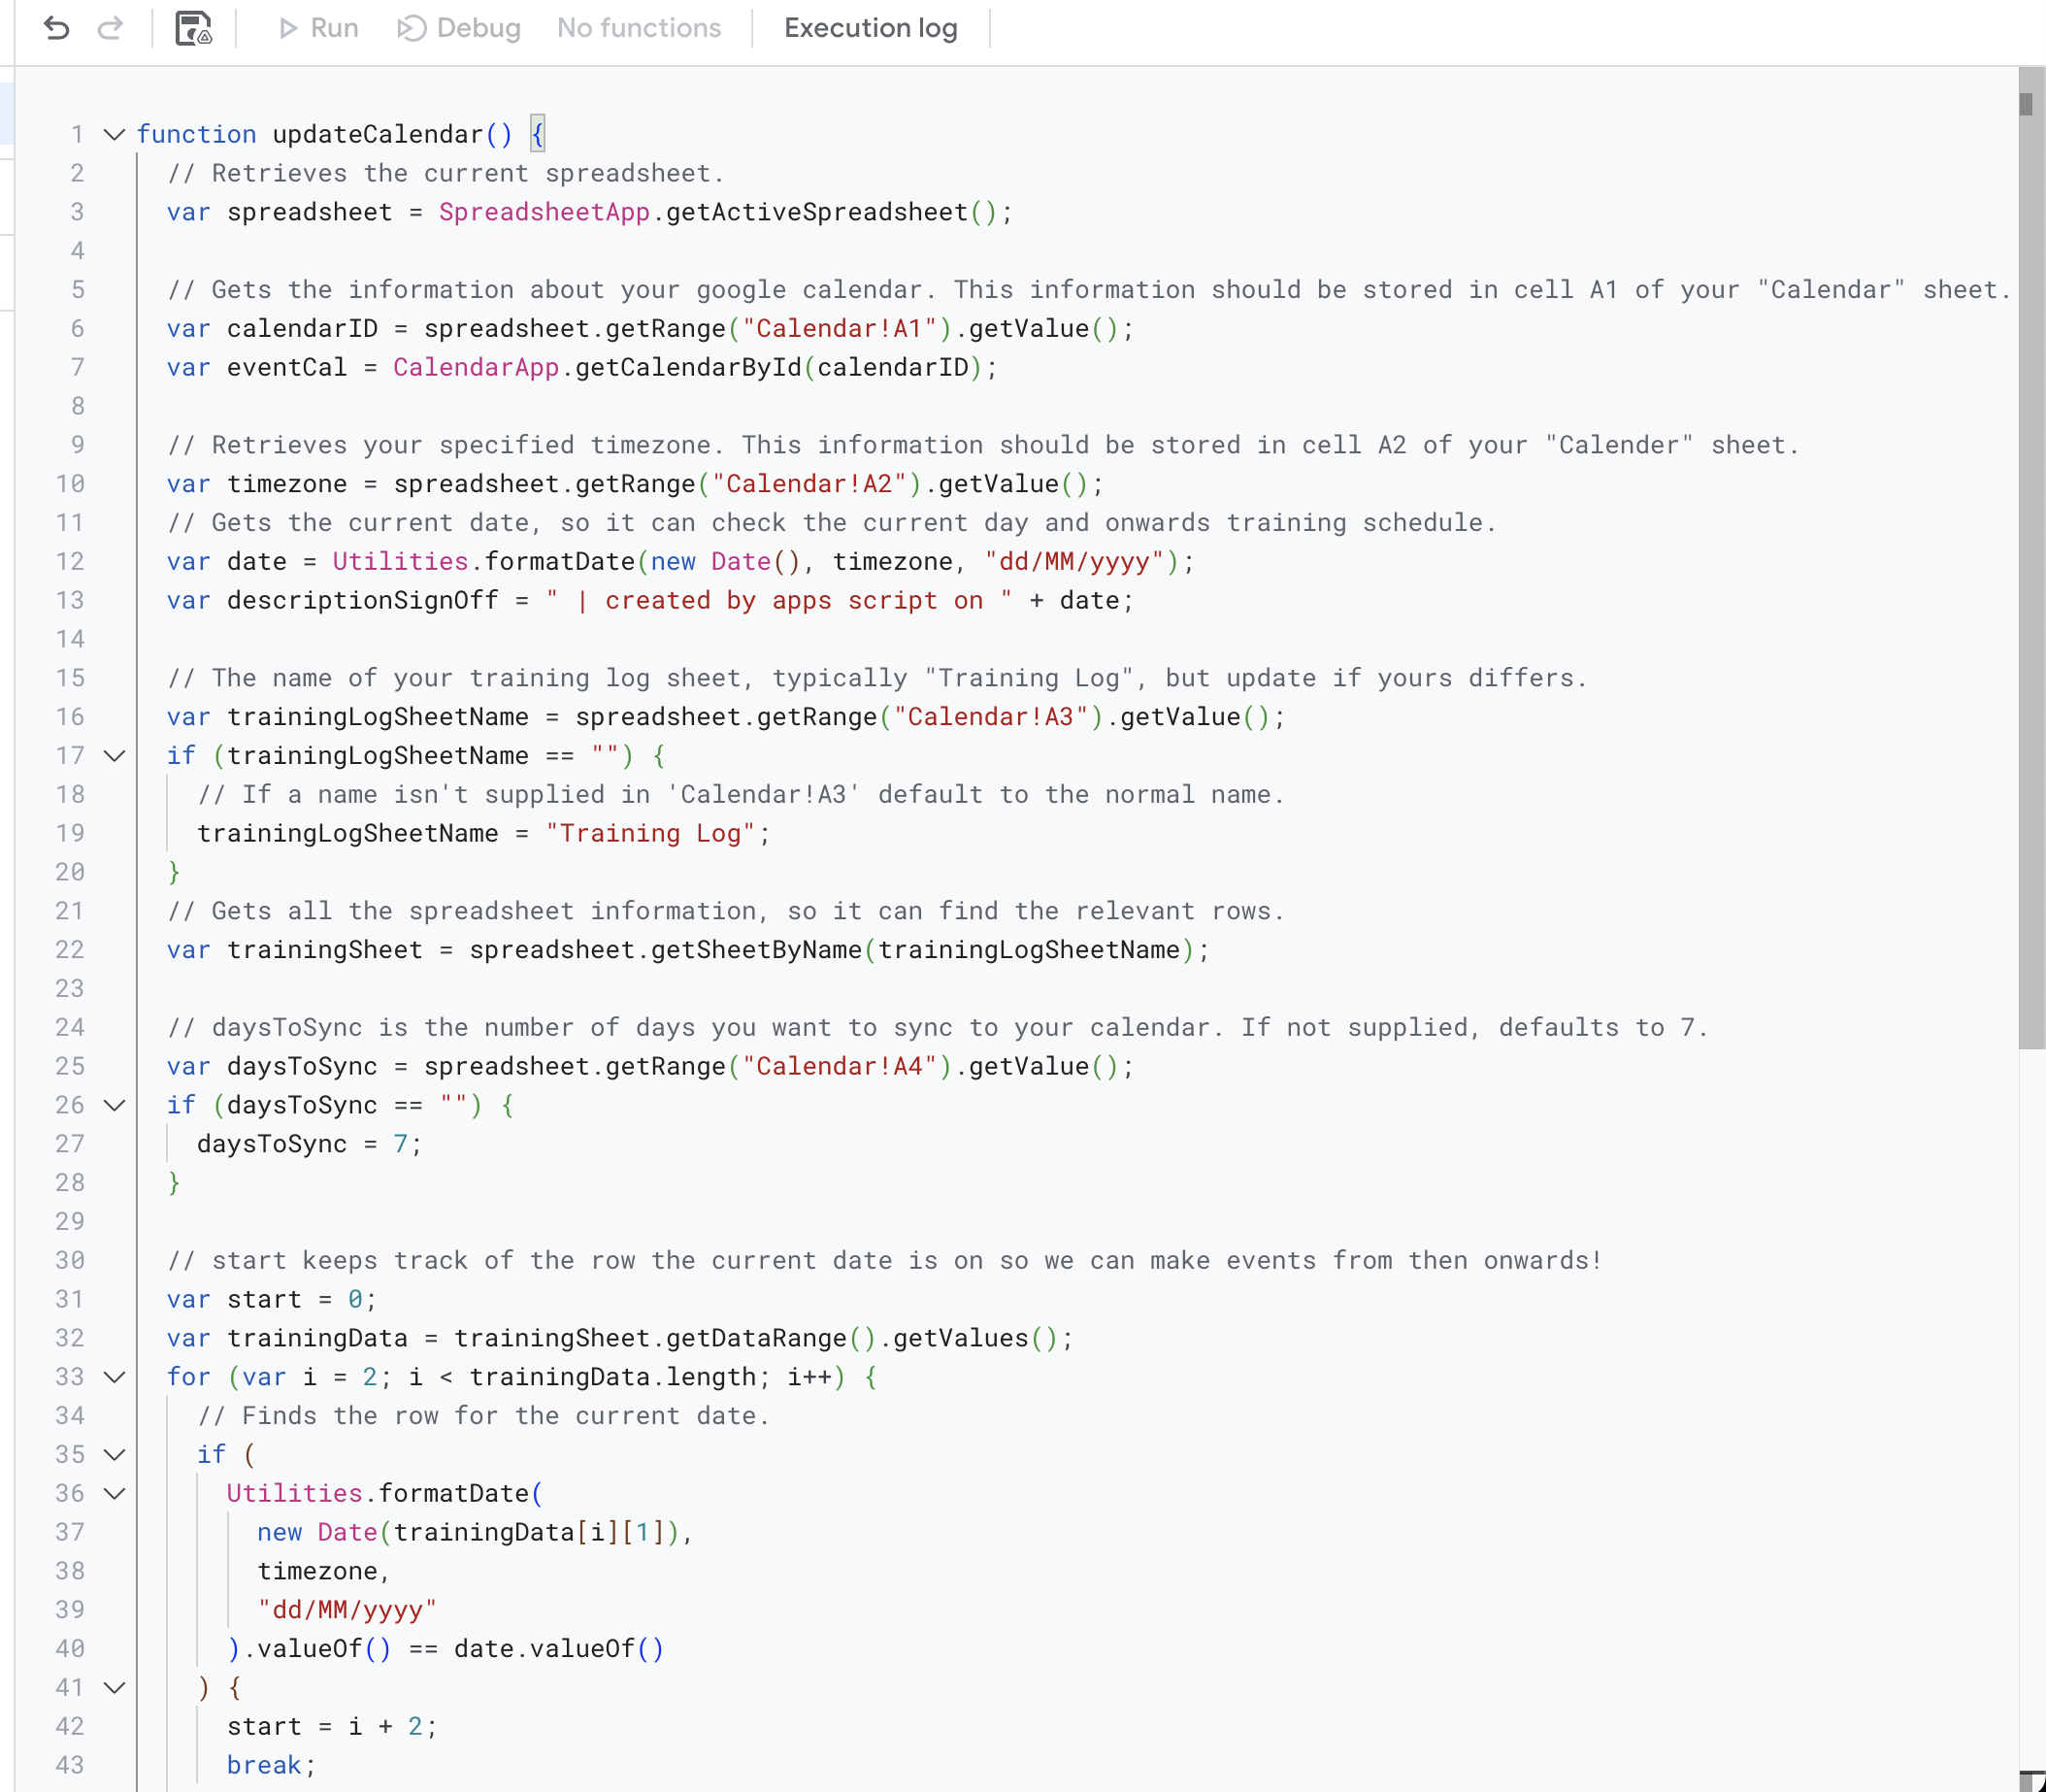
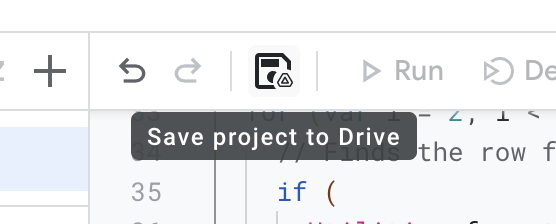
Now you need to save this information - click the little ‘Save to drive’ button at the top.
Check that it works!#
Now you’ve done that, it’s time to check that the script is working for you!
Close to where you found the ‘Save to Drive’ button, you should also see a button that says run - Click that!

This will cause an ‘Execution Log’ to pop open at the bottom of the page. At this point, you may have a pop up open, or attempt to open that will say that pacific pine running co email needs to verify the app. This is fine! At the bottom of this dialog there should be a button that says ‘Advanced’ or ‘Proceed’. Click that, and click the button that says proceed anyway. This will allow the program to run, and sync to your calendar.
If everything has gone well, it should look something like this:

If there is anything red, the two biggest culprits will be that you have missed some information on the ‘Calendar’ sheet in your log, or I have done something wrong. If it’s the latter, reach out to me on PPRC slack and I will try help!
Now go check your calendar, and hopefully there are now some events there!
Set it to automatically sync events#
Now the program is working, we want to be able to have it sync automatically with your calendar.
On the left hand side of the Apps Script page, click the ‘Triggers’ button.

At the bottom left, press ‘Add Trigger’ which will open dialog for you to add a trigger. Here you want to make sure that your function to run is updateCalendar, your deployment should run from Head, the Select event source should be Time-driven, the type of time based trigger should be Day timer.
For the Time of Day - select a time that make sense for you. The program will sync events from tomorrow onwards, so I like to set mine to 7-8pm so that I can be sure my training log has been updated!
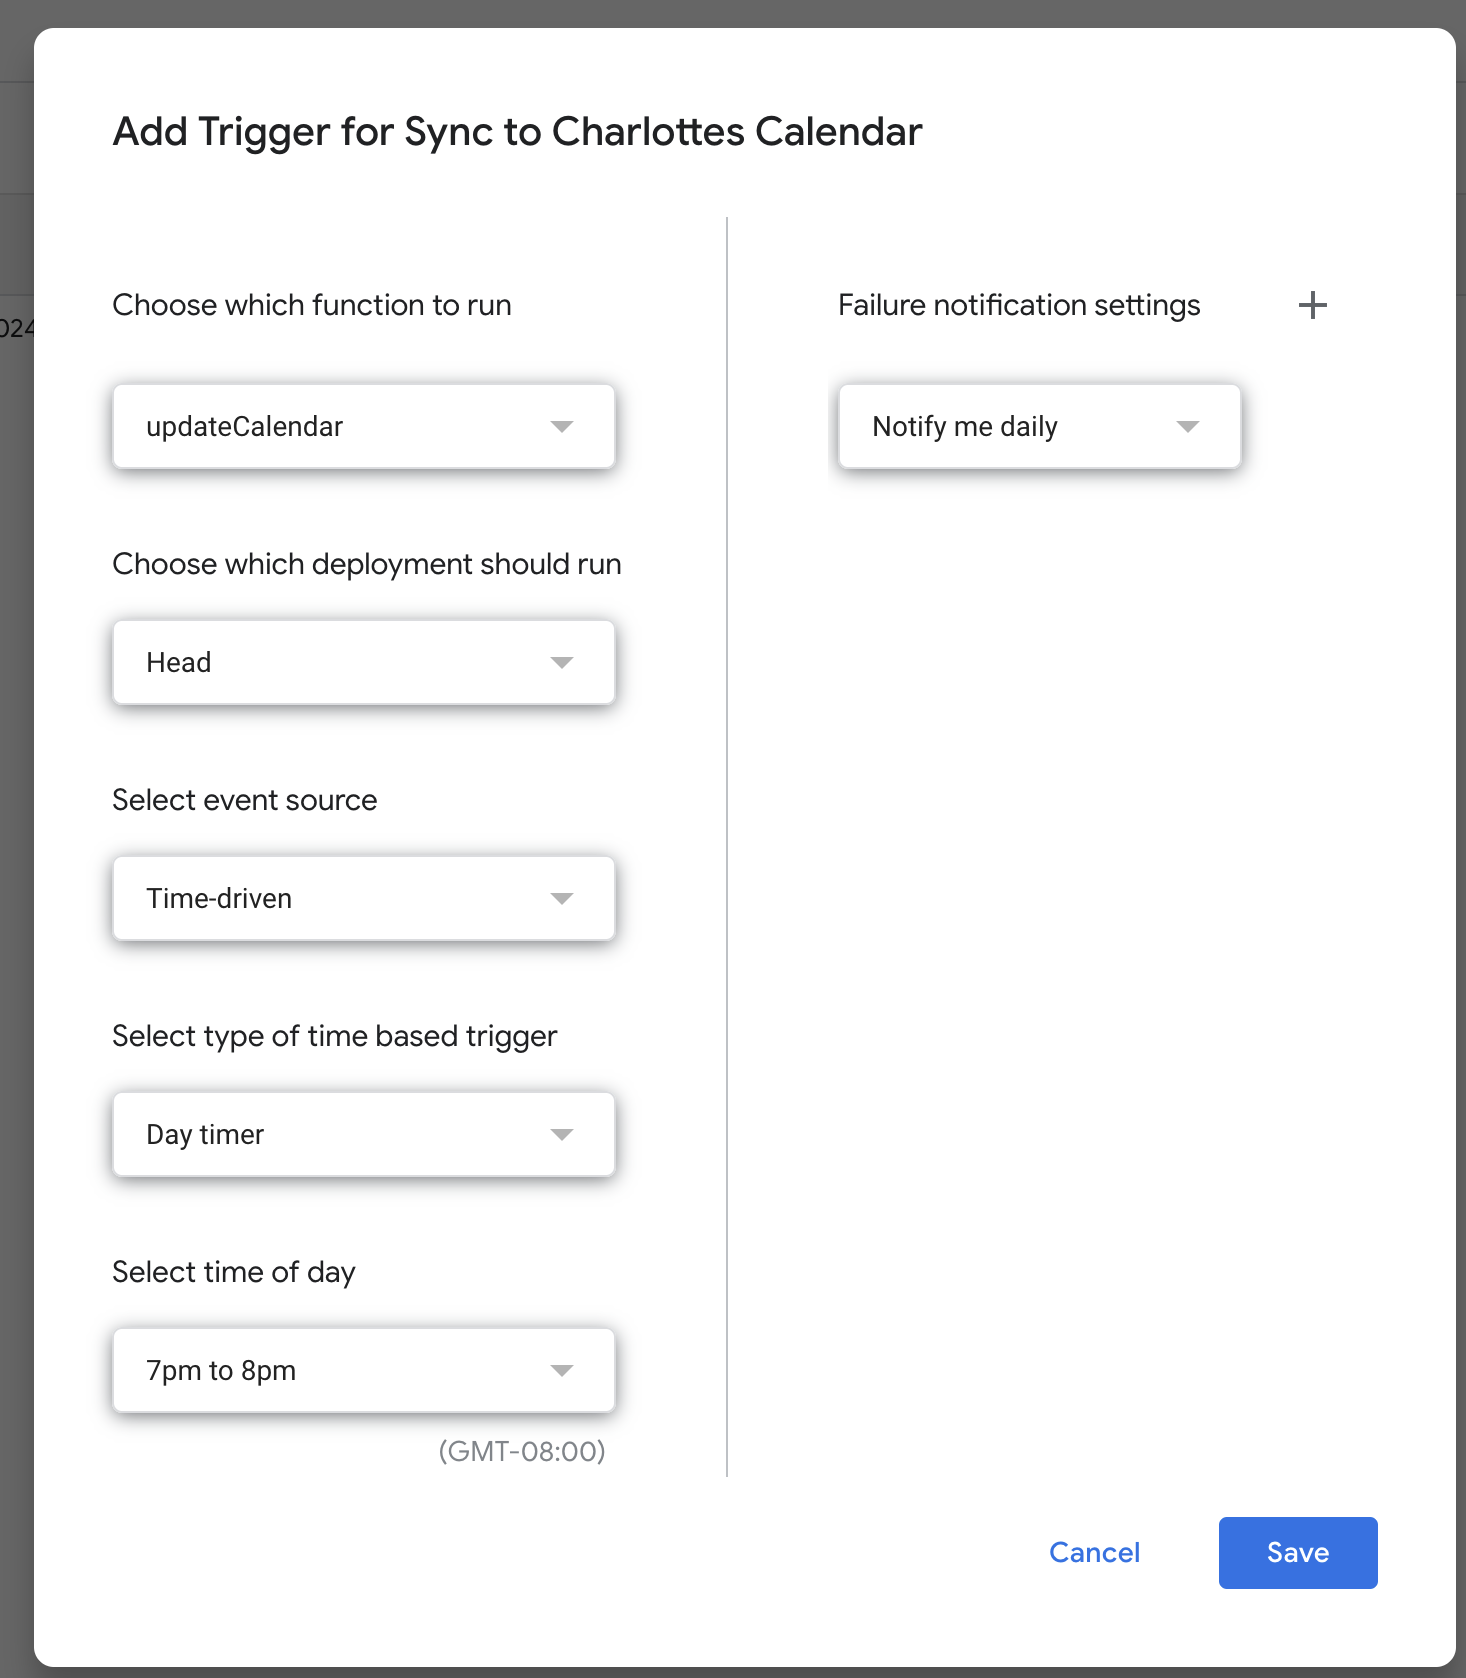
Click save, and you should be done! Every day between the hours you selected, your calendar will be updated.
And don’t worry! You won’t get duplicate events if your training log does change - whenever it syncs, it makes sure to remove old events before adding new ones for that day.
Hope this helps!